Understanding the dental implant procedure from start to finish can turn an intimidating process into a manageable, well-paced treatment plan. Most patients are surprised to learn just how methodical and predictable the journey actually is once it is broken into stages.
At Heritage Dental Studio, we walk every implant patient through each phase in detail before treatment begins, since knowing what to expect reduces anxiety significantly.
This guide covers every stage of the process, from your initial consultation through the healing period to the final restoration, along with realistic timelines for each step.
Step One: The Initial Consultation
Your implant journey begins with a comprehensive exam, including digital X-rays and often a 3D scan to evaluate your jawbone density and the overall health of your mouth. Our page on digital X-rays explains the imaging technology used during this assessment.
Your dentist reviews your medical history at this stage as well, since certain health conditions and medications can influence implant planning and healing.
This consultation is also when your dentist confirms whether you are a good candidate for implants, or whether additional preparatory steps, such as a bone graft, are needed first. Our page on dental implant candidacy explains the specific factors considered during this evaluation.
Step Two: Treatment Planning
Once candidacy is confirmed, your dentist develops a detailed treatment plan, mapping out exactly where each implant will be placed based on your bone structure and the specific tooth or teeth being replaced.
This planning stage often uses 3D imaging software to simulate the placement with precision, reducing the margin for error during the actual surgical procedure.
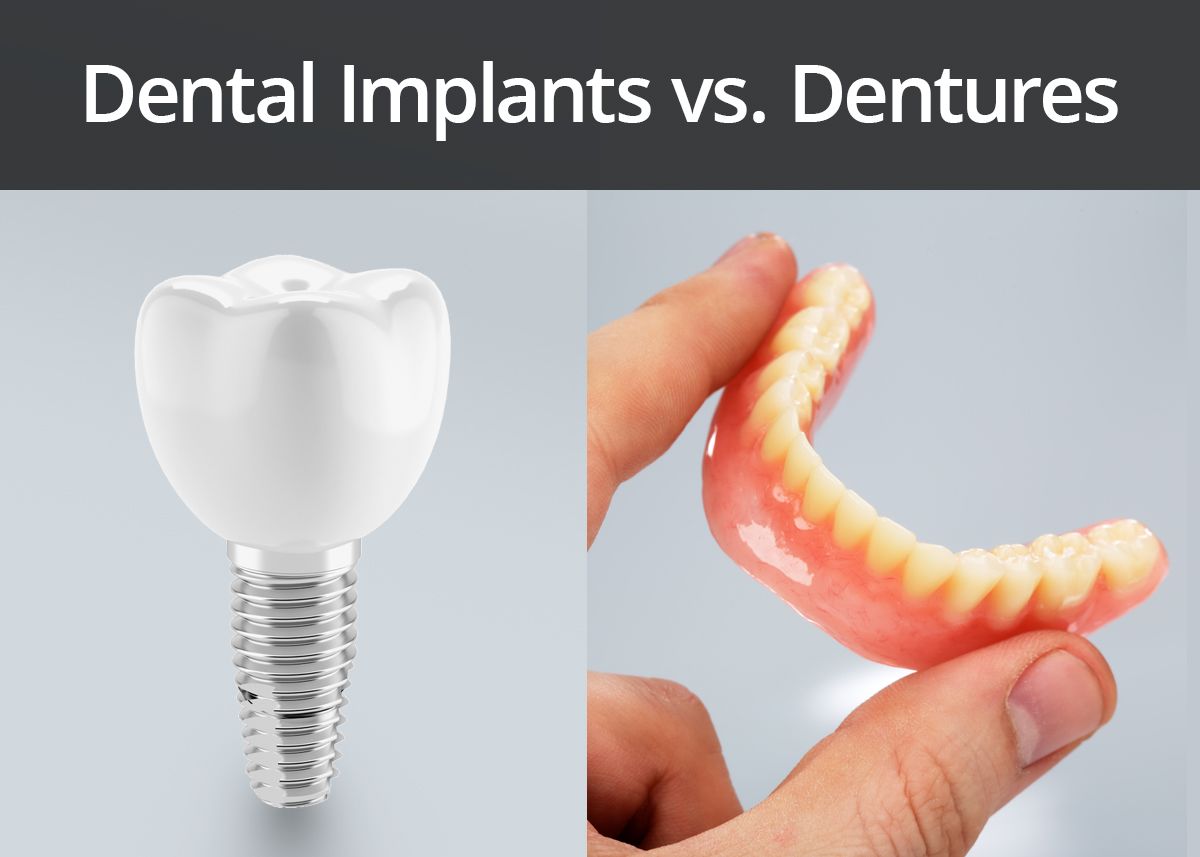
Your dentist will also discuss the type of implant and restoration best suited to your situation at this stage, whether that is a single implant, an implant-supported bridge, or a full-arch solution. Our comparison of dental implants versus a bridge is worth reviewing if you are still weighing your overall replacement options.
Step Three: Preparatory Procedures, If Needed
Tooth Extraction
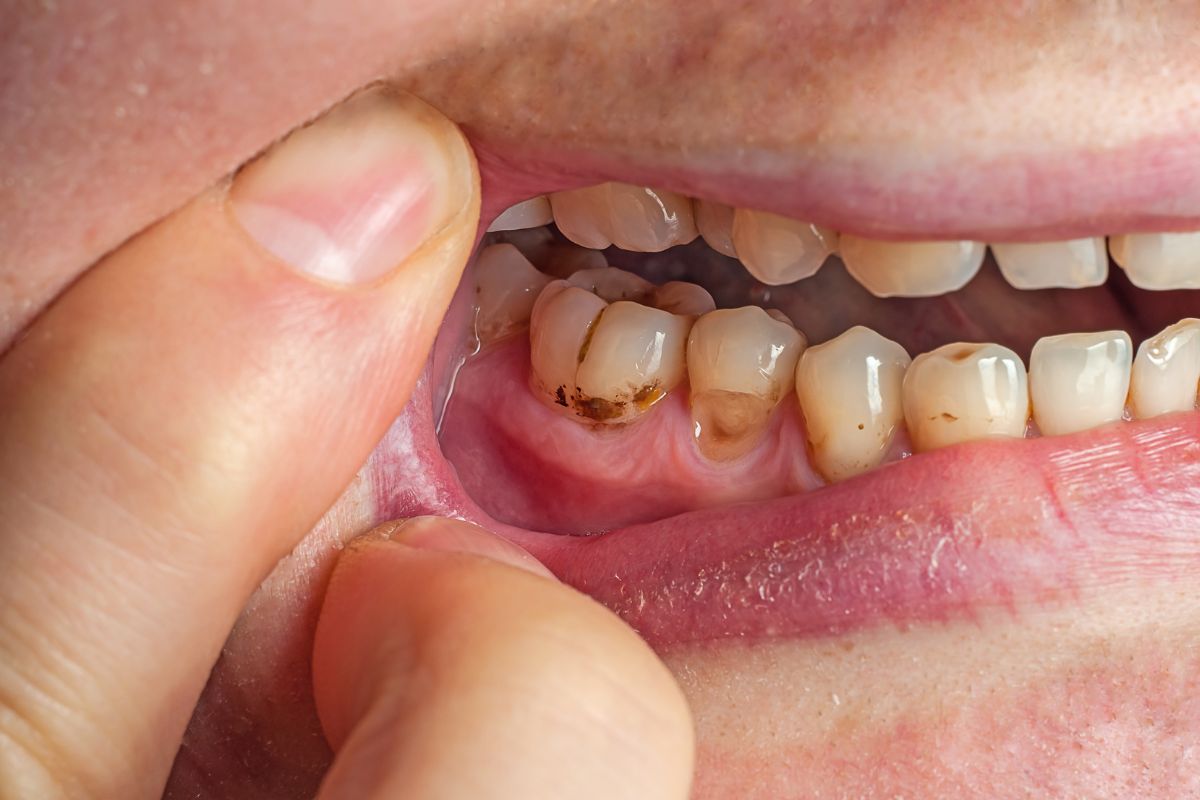
If the tooth being replaced is still present but not salvageable, it will need to be extracted before or, in some cases, at the same time as implant placement. Our page on tooth extractions explains what this process involves.
Bone Grafting
If your jawbone lacks sufficient density or volume to support an implant securely, a bone graft is typically performed first, adding graft material to build up the site before implant placement can proceed. Our detailed guide on what a bone graft involves covers this procedure and its healing timeline.
Sinus Lift
For implants planned in the upper back jaw, where the sinus cavity is close to the bone, a sinus lift procedure may be needed to create adequate space and bone volume for a secure implant placement. Our page on sinus lift procedures explained walks through when this additional step becomes necessary.
Not every patient needs these preparatory steps, but when they are required, they add meaningful healing time to the overall treatment timeline, which your dentist will factor into your personalized plan.
Step Four: Implant Placement Surgery
The implant itself is a small titanium or zirconia post, designed to function like a replacement tooth root. During this appointment, your dentist places the implant directly into the jawbone under local anesthetic, with sedation options available for patients who feel anxious about the procedure.
The procedure itself is typically completed within one to two hours for a single implant, though full-arch cases involving multiple implants take longer.
Most patients report that the experience is comparable to having a tooth extracted, with manageable swelling and mild discomfort in the days that follow rather than significant pain. Our page on whether dental implants are painful addresses this common concern directly.
Step Five: The Healing Period (Osseointegration)
After placement, the implant needs time to fuse securely with the surrounding jawbone through a biological process called osseointegration. This typically takes three to six months, depending on the location of the implant and your individual healing response.
During this period, a temporary restoration may be worn to maintain your appearance and function while the implant integrates beneath the surface.
Long-term research tracking implants over a decade or more has consistently shown strong survival outcomes, generally in the range of 90 to 96 percent at ten years for healthy patients, with somewhat lower but still favorable outcomes reported in patients managing certain systemic health conditions. Our guide on how long implants typically last covers the factors that influence this long-term success rate.
Step Six: Placing the Abutment
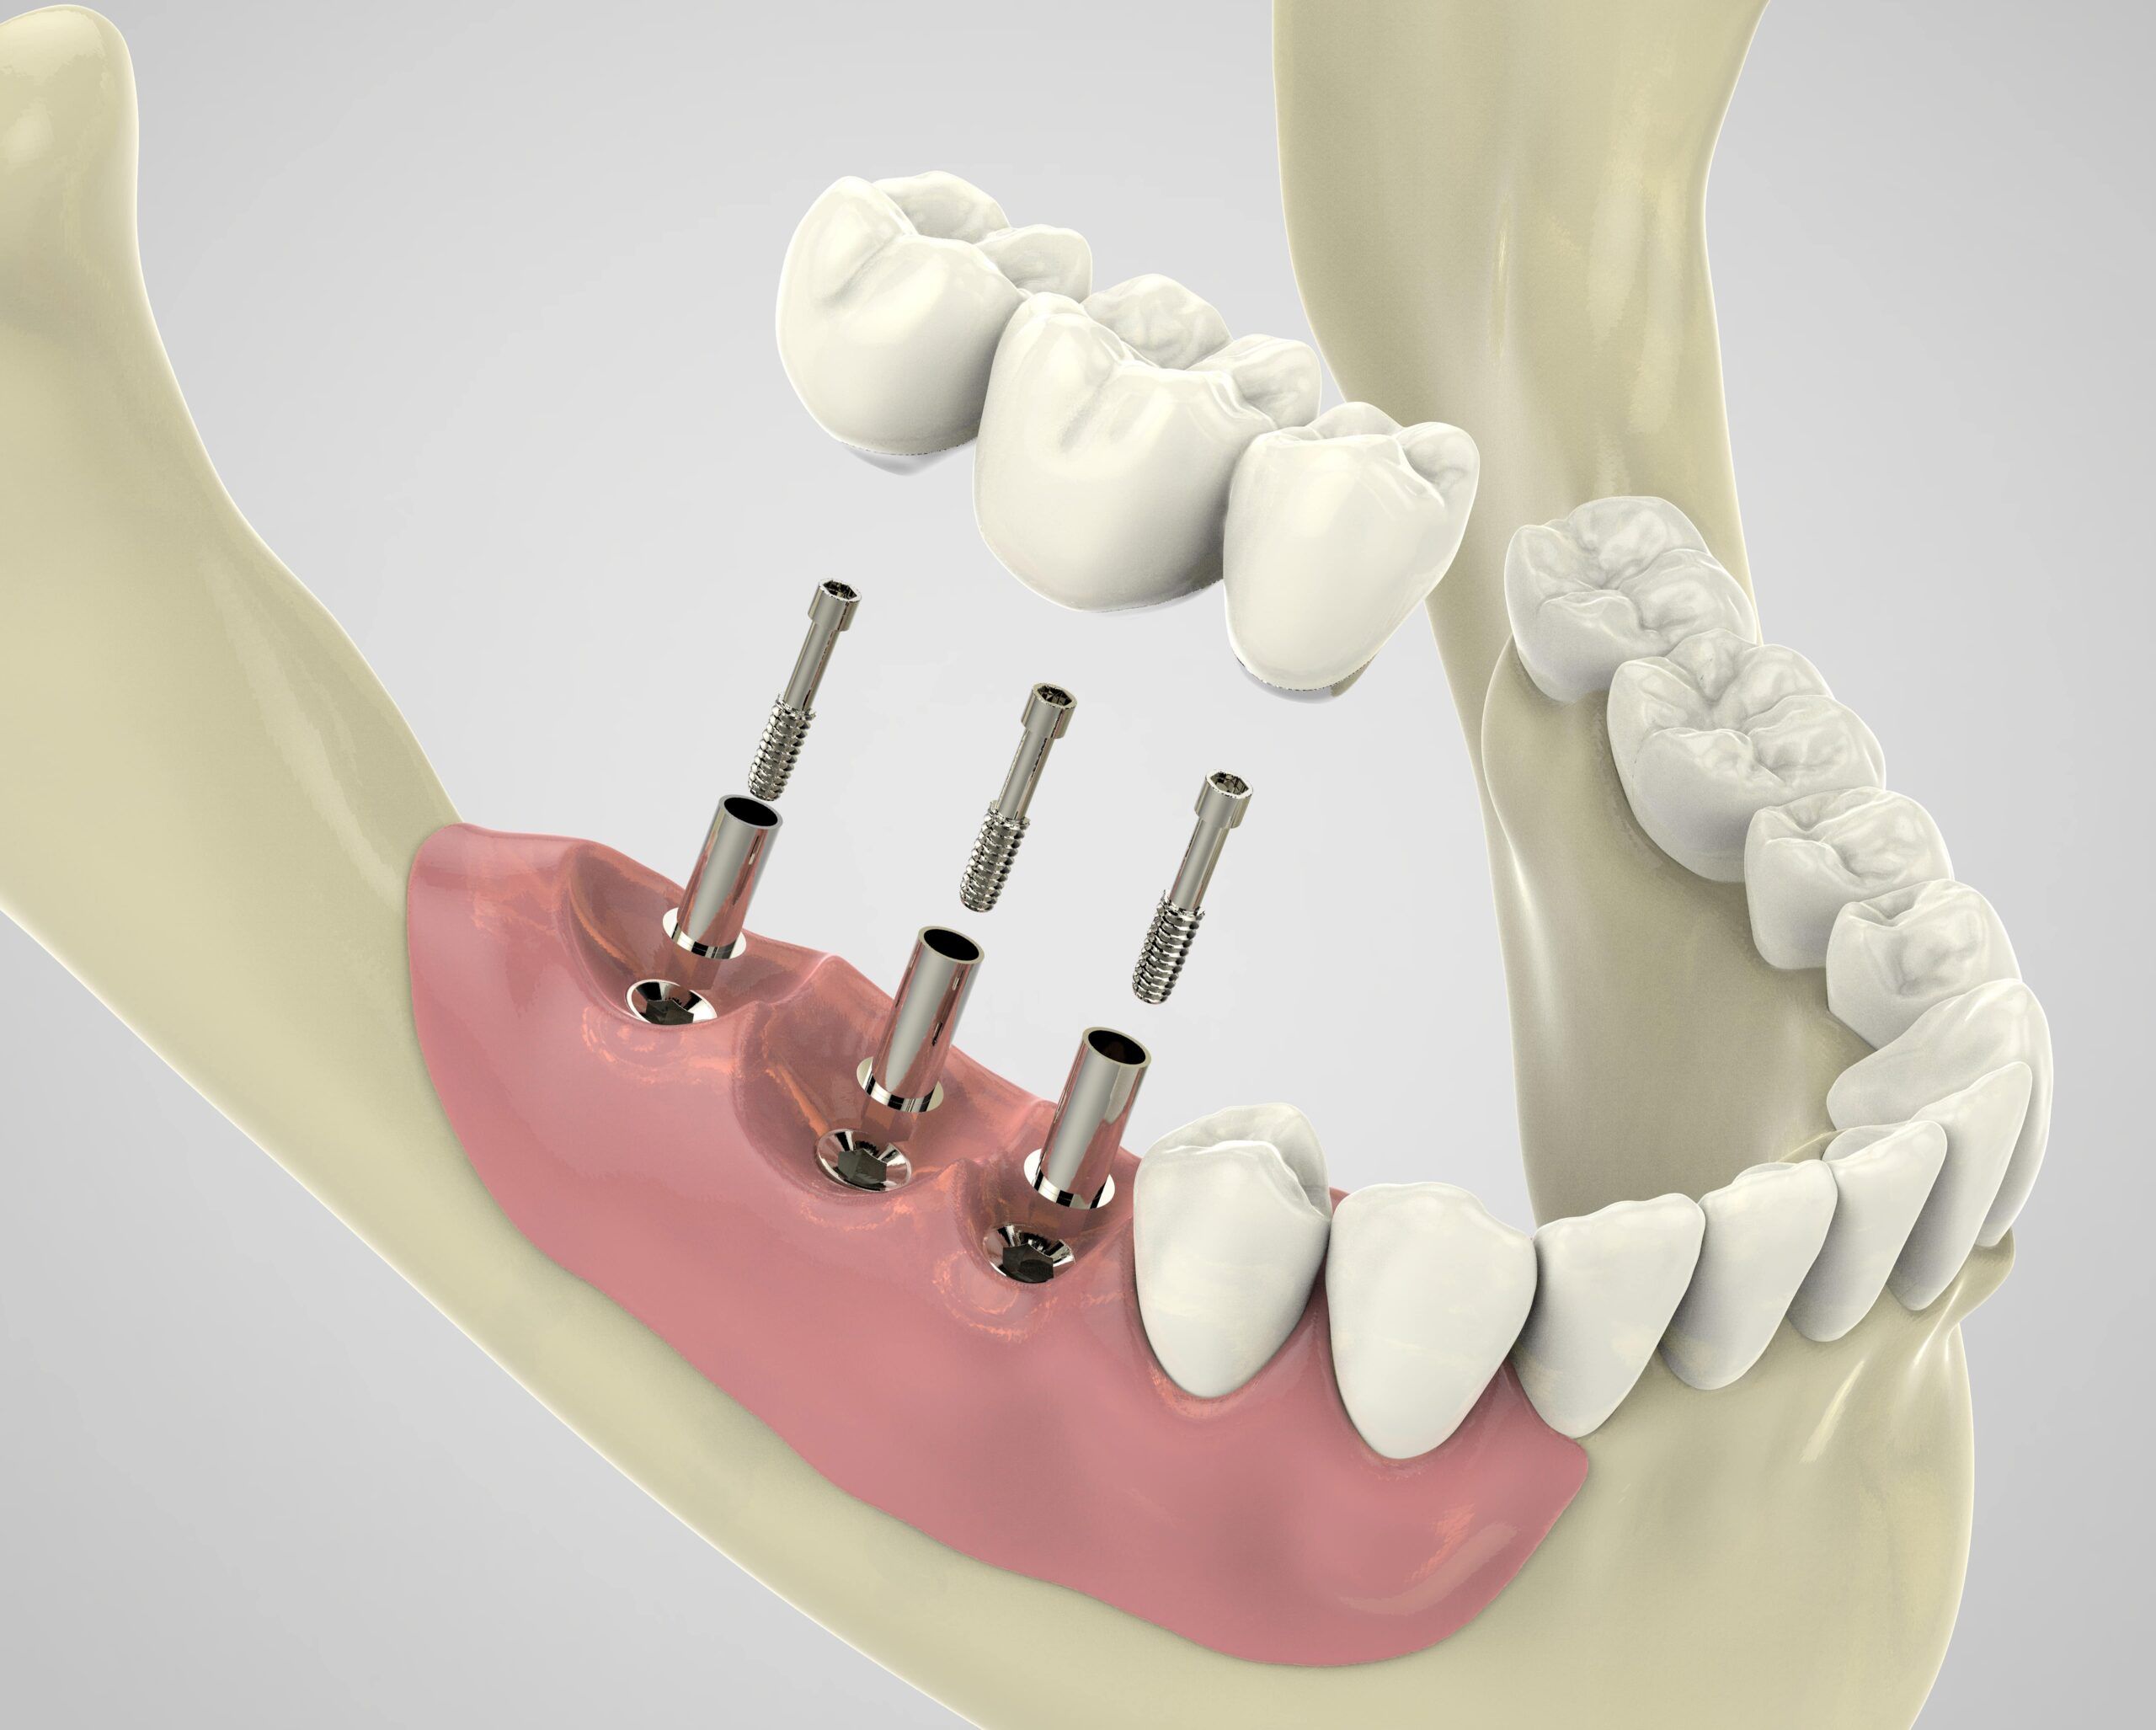
Once osseointegration is complete, a small connector piece called an abutment is attached to the top of the implant. This piece serves as the link between the implant embedded in the bone and the visible crown that will sit on top.
In some cases, the abutment is placed at the same time as the initial implant surgery, while in others it requires a brief additional procedure once healing is confirmed, depending on the specific implant system and your dentist’s preferred approach.
A short healing period for the surrounding gum tissue typically follows abutment placement before the final restoration is fabricated and fitted.
Step Seven: The Final Restoration
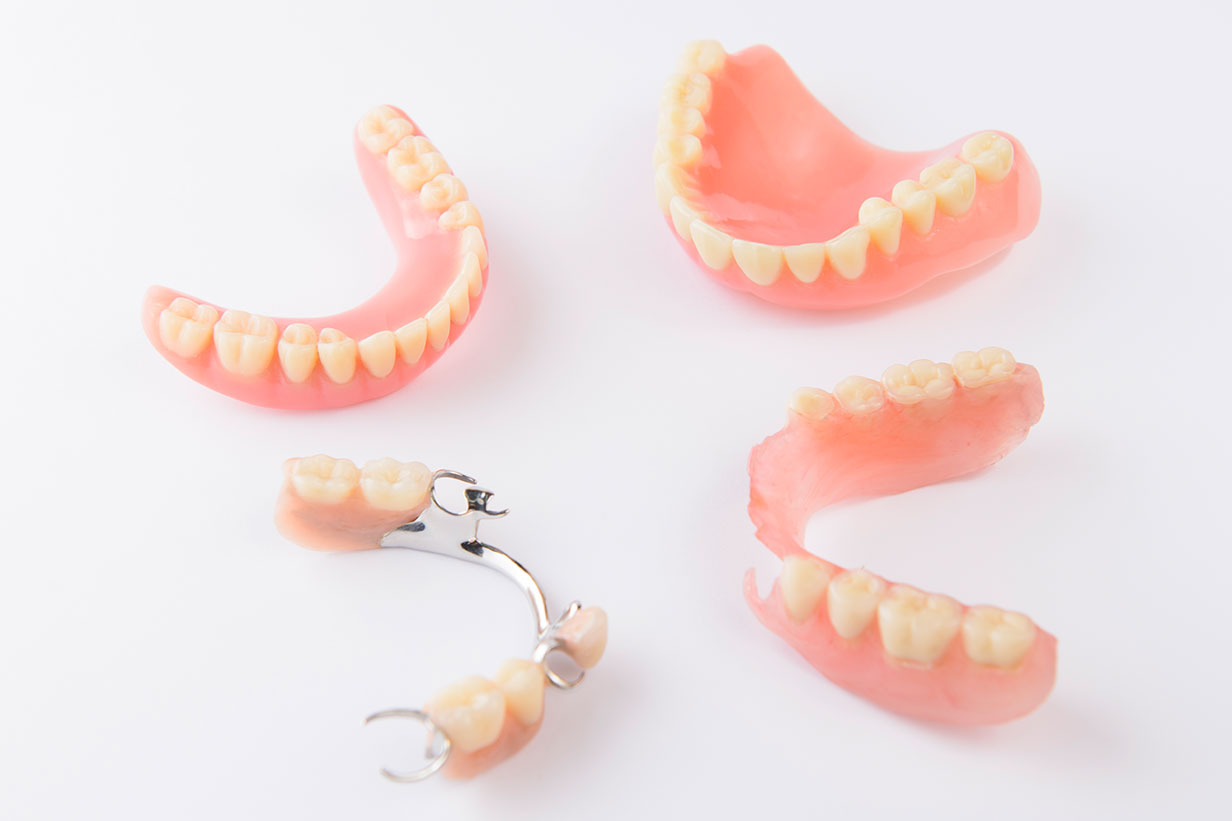
The last step involves taking an impression or digital scan of the abutment and surrounding teeth, which is used to fabricate your custom crown, bridge, or denture, depending on your treatment plan.
Once the restoration is ready, it is fitted and secured onto the abutment, completing your implant. Your dentist checks the fit, bite alignment, and appearance carefully before finalizing the restoration.
For patients replacing a single tooth, this typically means a custom crown matched to the shade and shape of your natural teeth. Our article on what happens during the dental implant procedure for multi-tooth cases explains how this final stage differs for bridges and full-arch restorations.
How Long Does the Entire Process Take?
For a straightforward single-tooth implant with adequate existing bone, the full process from placement to final restoration typically spans three to six months.
If preparatory procedures like a bone graft or sinus lift are needed first, the overall timeline extends further, sometimes to eight months or longer, to allow adequate healing at each stage before moving forward.
Full-arch or same-day implant approaches follow a different timeline entirely, with some systems designed to place a temporary functional restoration on the same day as surgery. Our page on same-day dental implants explains how this accelerated option works and who is a good candidate.
What Recovery Actually Feels Like
Most patients experience some swelling, mild bruising, and tenderness at the implant site for the first few days following surgery, generally managed effectively with over-the-counter pain medication as recommended by your dentist.
Eating soft foods for the first several days and avoiding the surgical site while brushing helps protect the area during initial healing, with most patients returning to their normal routine within a week.
The longer osseointegration process happening beneath the surface does not typically cause ongoing discomfort, which is why many patients describe the healing experience as easier than they initially expected.
Caring for Your Implant Long-Term
Once your final restoration is in place, caring for a dental implant is very similar to caring for a natural tooth, with regular brushing, flossing, and routine dental checkups.
Peri-implant tissue, the gum surrounding the implant, still needs monitoring for signs of inflammation, since a condition called peri-implantitis can develop if plaque accumulates around the implant over time without adequate cleaning.
Consistent professional cleanings allow your dental team to monitor the implant, the surrounding gum tissue, and the health of the restoration itself, catching any early signs of trouble before they become more significant problems. Our page on signs of dental implant failure explains what symptoms are worth reporting to your dentist promptly.
Factors That Influence Success at Every Stage
Smoking
Tobacco use is one of the most well-documented risk factors for implant complications, since it impairs blood flow and healing at the surgical site, increasing the risk of implant failure.
Oral Hygiene
Consistent daily brushing and flossing, along with routine professional cleanings, significantly reduce the risk of gum inflammation around the implant that can compromise its long-term stability.
Bone Quality and Quantity
Adequate bone density at the implant site is essential for successful osseointegration, which is why preparatory procedures like bone grafting play such an important role for some patients.
Overall Health
Conditions like uncontrolled diabetes can affect healing and integration, though many patients with well-managed chronic conditions are still excellent implant candidates. Our page on diabetes and oral health explains this relationship in more depth.
Understanding these factors in advance allows you and your dentist to address any modifiable risks before treatment begins, improving your odds of a smooth, successful outcome.
Single Tooth vs Multiple Tooth vs Full-Arch Implant Journeys
Replacing a Single Tooth
This is the most straightforward implant scenario, involving one implant, one abutment, and one crown. The process follows the standard timeline outlined above and is generally the most predictable in terms of both cost and healing.
Replacing Multiple Teeth
When several teeth in a row are missing, an implant-supported bridge can replace them using fewer implants than the number of missing teeth, since the bridge spans the gap while anchoring to implants at either end.
Full-Arch Replacement
For patients missing all or most of their teeth in an arch, systems using four to six strategically placed implants can support a full arch of replacement teeth, avoiding the need for an individual implant under every single tooth. Our page on how many implants are needed for a full mouth explains how this number is determined for different situations.
Each of these paths follows the same fundamental stages, consultation, planning, placement, healing, and final restoration, but the complexity and timeline scale up with the number of teeth being replaced.
What Your Consultation Appointment Actually Involves
Many patients arrive at their first implant consultation unsure of what to expect, so it helps to know the appointment generally unfolds in a predictable sequence.
Your dentist will review your dental and medical history in detail, asking about any medications, chronic conditions, or prior dental work that could affect your candidacy.
A visual exam of your mouth, gums, and remaining teeth follows, along with the imaging discussed earlier to assess your bone structure precisely. This combination of information allows your dentist to build a treatment plan tailored specifically to your anatomy rather than a generic template.
By the end of this appointment, most patients leave with a clear understanding of their treatment timeline, an estimated cost, and answers to any initial questions or concerns about the process ahead.
Comparing Implant Systems and Materials
Titanium Implants
The most widely used and extensively studied implant material, titanium has a long track record of successful osseointegration and is considered the standard choice for most patients.
Zirconia Implants
A newer alternative gaining popularity, particularly among patients seeking a metal-free option, zirconia implants offer comparable strength with a white color that some patients prefer for aesthetic reasons in cases where the implant may be visible near the gumline.
Your dentist will discuss which material best suits your specific case, weighing factors like the implant’s location, your aesthetic priorities, and any personal preferences you may have regarding metal versus ceramic materials.
What Happens at Your Follow-Up Appointments
Follow-up visits during the healing period allow your dentist to monitor the implant site, check for any signs of infection or complications, and confirm that osseointegration is progressing as expected.
These appointments are typically brief, but they play an important role in catching any issues early, well before they could threaten the long-term success of the implant.
Once osseointegration is confirmed through both visual assessment and imaging, your dentist will schedule the next phase, moving forward to abutment placement and the fabrication of your final restoration.
Managing Anxiety About the Procedure
It is completely normal to feel some anxiety about implant surgery, even when you understand the process intellectually. Many patients find that talking openly with their dental team about specific fears, whether about pain, the sound of dental tools, or the length of the appointment, helps reduce that anxiety considerably.
Sedation options exist for patients who need additional support to feel comfortable throughout the procedure, ranging from mild oral sedation to deeper options depending on your needs and the complexity of your case. Our page on sedation dentistry explains what is available and how it is administered safely.
Knowing that the surgical portion of the appointment is relatively brief, often completed within one to two hours for a single implant, can also help put the experience into perspective before you arrive.
How Cost Is Typically Structured
Implant treatment cost generally reflects several components combined into one overall fee: the surgical placement of the implant itself, the abutment, and the final restoration, along with any preparatory procedures like bone grafting if needed.
Because implants involve multiple stages spread across months, many dental offices break the total cost into payments aligned with each phase of treatment rather than requiring the full amount upfront. Our page on dental implant costs in Toronto provides a general sense of typical fee ranges for different implant scenarios.
Discussing the full cost breakdown at your consultation, including what is and is not covered by your insurance, helps avoid any surprises as you move through each stage of treatment.
Frequently Asked Questions
Is the entire implant procedure painful?
Most patients report that discomfort is well managed with local anesthetic during the procedure and over-the-counter pain relief afterward, comparable to what follows a tooth extraction rather than a significantly more painful experience.
Can I get an implant if I’ve been missing a tooth for years?
Yes, though extended tooth loss often results in some bone resorption at the site, which may require a bone graft before implant placement can proceed successfully.
Do I need to take time off work for implant surgery?
Many patients return to work within one to two days following implant placement, though this depends on the complexity of your procedure and the nature of your job.
What happens if the implant fails to integrate with the bone?
This is uncommon but can happen. If it occurs, the implant is typically removed, the site is allowed to heal, and a second attempt can often be made once the area has recovered.
How soon after the implant is placed can I get my permanent tooth?
This depends on your healing timeline and the specific system used, ranging from the same day with certain same-day protocols to several months after full osseointegration is confirmed with a traditional approach.
A Realistic Week-by-Week Look at Healing
Days One Through Three
Expect the most noticeable swelling and tenderness during this window, generally well controlled with the pain management plan your dentist provides. Sticking to soft foods and avoiding the surgical site while brushing protects the area during this initial phase.
One to Two Weeks
Most surface swelling and discomfort resolve within this period, and any stitches, if used, are typically removed or dissolve naturally around this time. Many patients feel comfortable returning to a fuller range of foods by this stage.
One to Three Months
This is when the bulk of osseointegration occurs beneath the surface, generally without noticeable symptoms. Follow-up appointments during this window allow your dentist to confirm healing is progressing on schedule.
Three to Six Months
For most patients, osseointegration is complete by this point, clearing the way for abutment placement and the final restoration to follow shortly after.
Having this general timeline in mind helps set realistic expectations, though your dentist will confirm the specific pace of your individual healing at each follow-up visit along the way.
Ready to Start Your Implant Journey?
Understanding each step of the process is the first move toward a confident decision about dental implants. The team at Heritage Dental Studio in downtown Toronto is ready to assess your candidacy and walk you through a personalized treatment timeline.